Skip to content
Home
Virtual Organizing Services
Courses
Seminars
About
Testimonials
Videos
Blog
Links
Contact
Search
Search
Julie Stobbe |
julie@mindoverclutter.ca
| Cell:
905.321.1616
Tips for Organizing Nine Rooms
Free Download
Organizing Tips
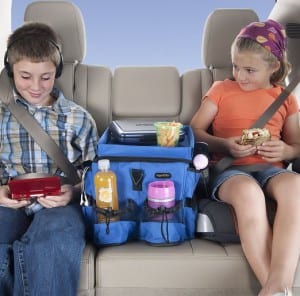
Organizing for a road trip
Organizing your paper photos.
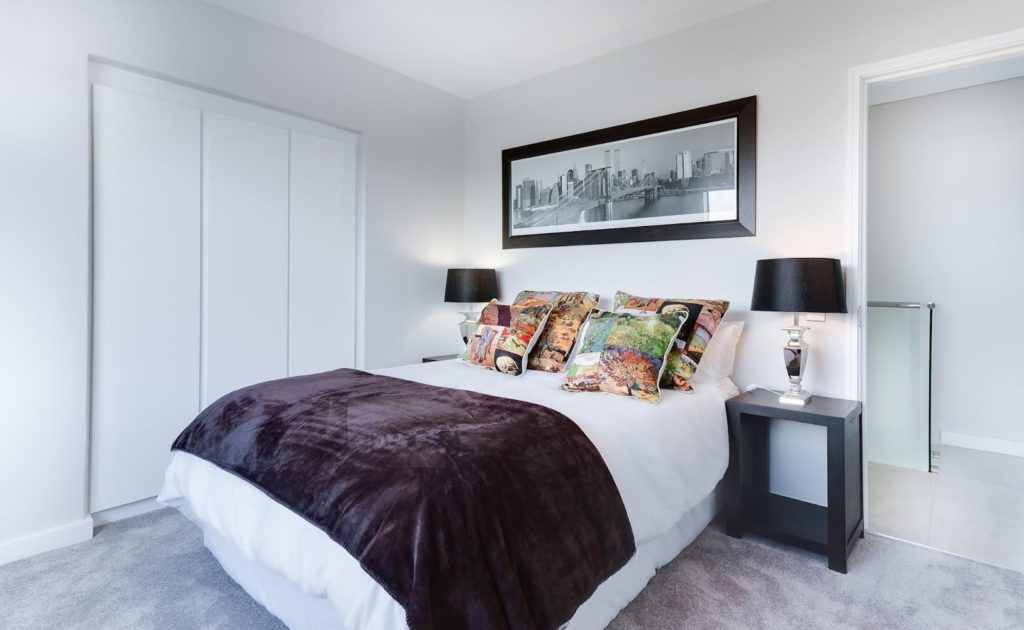
Towards a clutter free bedroom
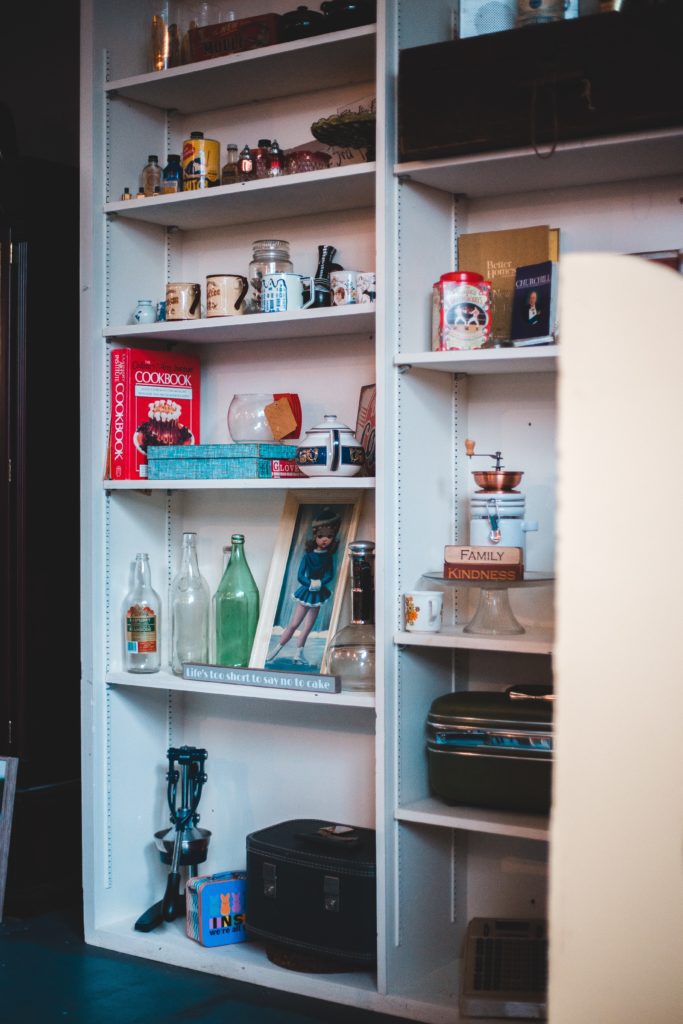
Tips for Organizing Storage Rooms
How to organize your fridge
What could you use this tree to organize?
Guide to Maintaining Momentum After Decluttering Your Home
To Pinterest or not to Pinterest
Space saving hacks for your small home
These are the steps, declutter then organize
1
2
3
4
5
6
7
8
9
Load More
Categories
Challenging DIsorganization
Downsizing
Home Routine Planning
Mindset
Moving
Office Organizing
Organizing Children and Students
Organizing Products
Organizing Tips
Recycling, Donating and Re-purposing items
Special Times
Time Management
uncategorized
Virtual Organizing
Scroll To Top