Skip to content
Home
Virtual Organizing Services
Courses
Seminars
About
Testimonials
Videos
Blog
Links
Contact
Search
Search
Julie Stobbe |
julie@mindoverclutter.ca
| Cell:
905.321.1616
Tips for Organizing Nine Rooms
Free Download
Organizing Tips
Home Organizing Mistakes People Often Make
Keep Clutter on the Run, Get Organized
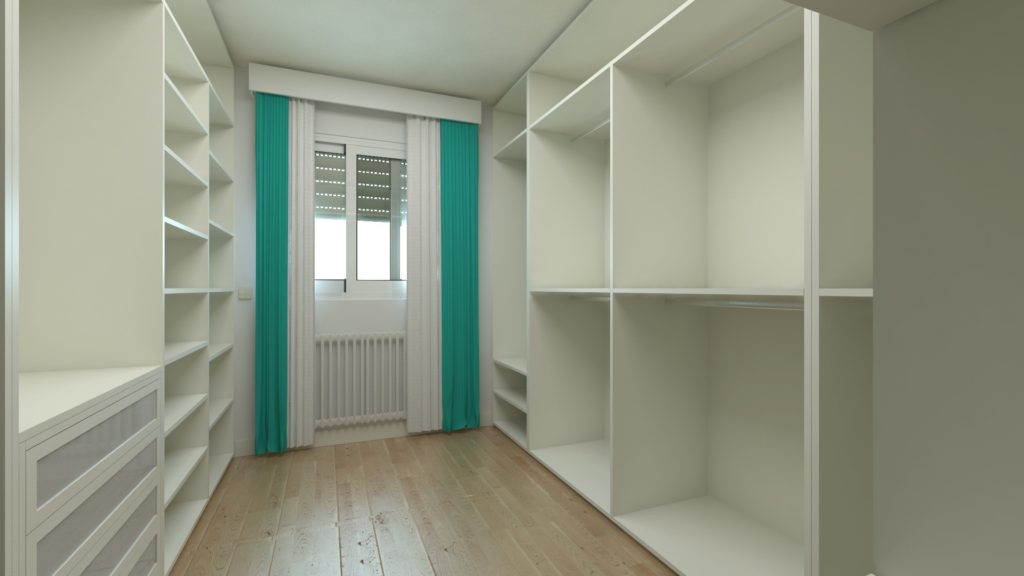
Reorganize your storage space
Pantry organization ideas to keep everything neat
How to get your wardrobe organized once and for all.
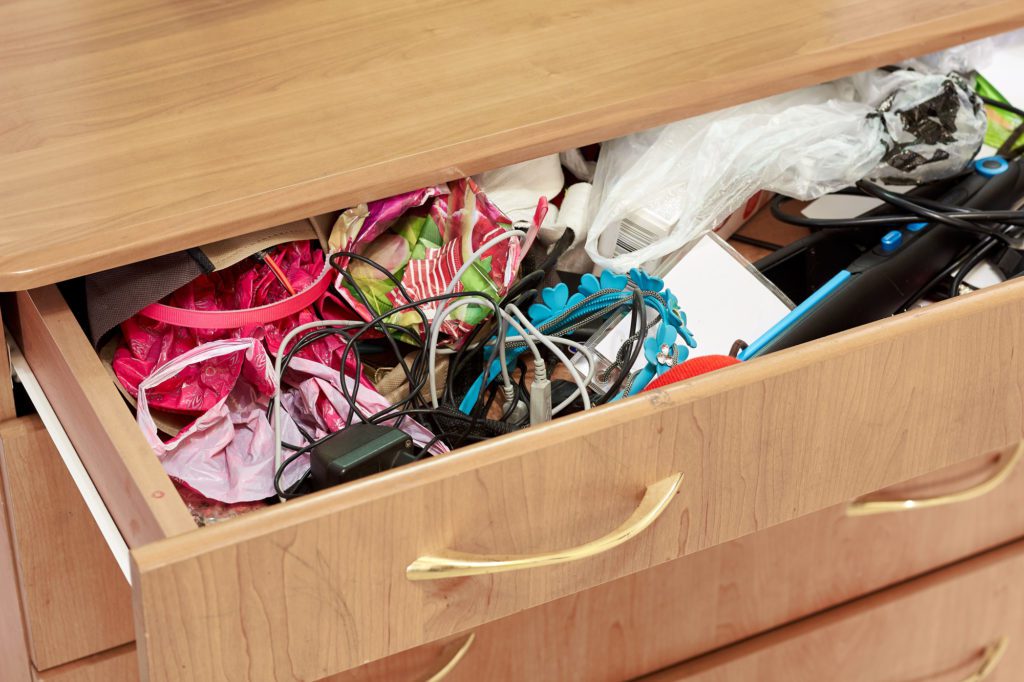
Ask a Professional Organizer – How many junk drawers may I have?
Spring Clearing A B Cs
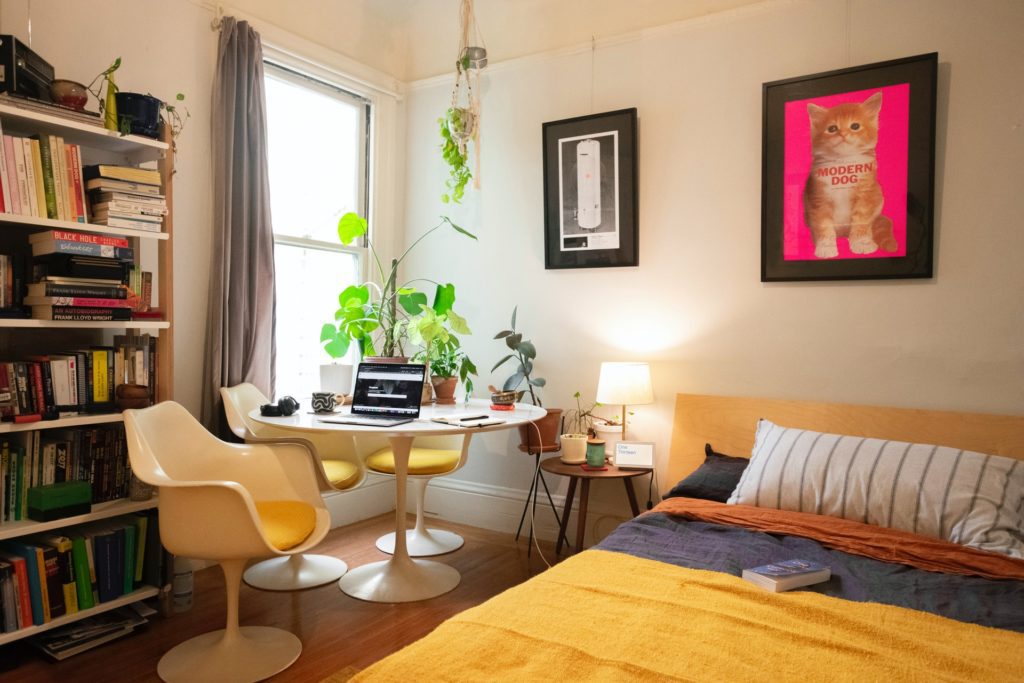
How to organize your bedroom to get more space.
5 tips to get your garden organized
Do I have a disease or a M.E.S.S.?
1
2
3
4
5
6
7
8
9
Load More
Categories
Challenging DIsorganization
Downsizing
Home Routine Planning
Mindset
Moving
Office Organizing
Organizing Children and Students
Organizing Products
Organizing Tips
Recycling, Donating and Re-purposing items
Special Times
Time Management
uncategorized
Virtual Organizing
Scroll To Top